Additional Displays / Monitors
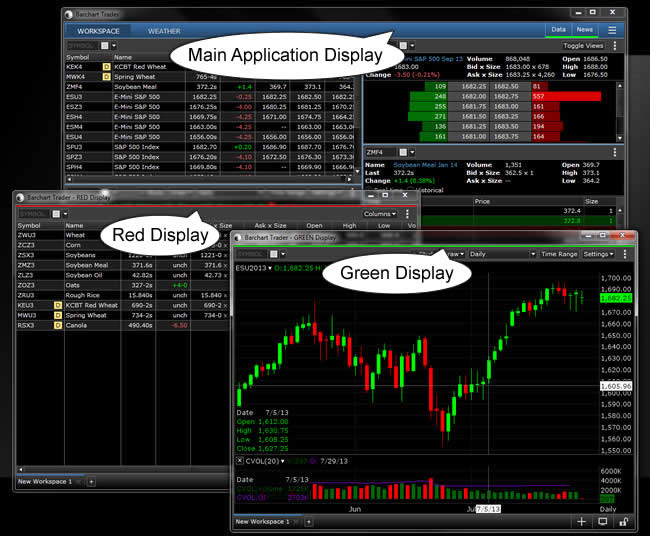
You may create and manage multiple displays for the application, allowing you to move each display to a separate monitor you may have connected. For example, if your work environment has two additional monitors connected to your main display, you can create three displays, or workspace areas, and move each to its own monitor.
Each display has a unique color bar along the top of it for easy identification:
New displays start empty. You can either add new workspaces to it manually, or you can move some of your existing workspaces over to a display.
Manage Additional Displays
Additional displays can be managed using the ![]() Displays icon, found at the bottom right of the application.
Displays icon, found at the bottom right of the application.
Note: You may also manage displays from the Additional Displays tab, found in your Account Settings.
- Click the
 Displays icon.
Result: The icon expands, showing colors representing displays that are currently configured. In this example, you have two displays: RED (your main application window) and GREEN (a second display)
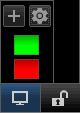
- To view (Undock) a display, double-click on its colored rectangle.
- To Add a display, click the + button.
Result: A "color" is assigned to the display, and the new window appears, ready for you to add content. - To Configure displays, click the "Settings" icon (cog).
Result: The the Additional Displays tab, found in your Account Settings, is opened.
Note: At this time, there is a maximum of four additional displays that can be added to your account.